Which Water Test Kit Does a New Aquarium Need?
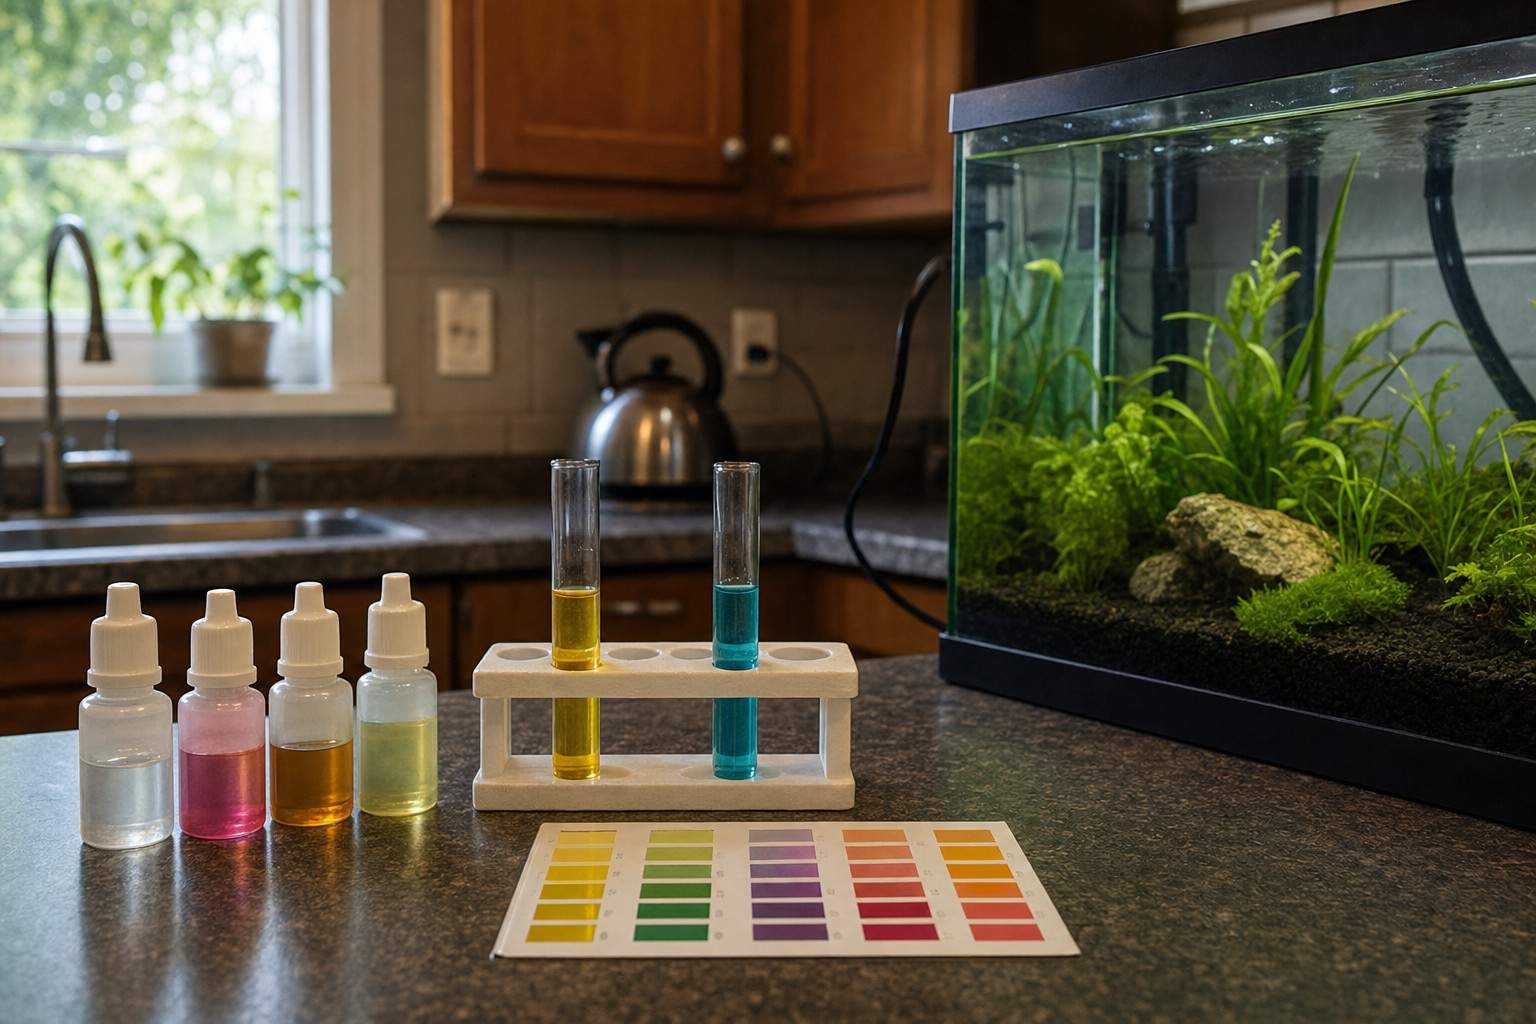
A liquid drop kit that reads ammonia, nitrite, nitrate and pH covers what a new tank actually needs. Here’s why testing comes before fish, and which format earns the shelf space.
Aquarium Hobbyist Blog
A liquid drop kit that reads ammonia, nitrite, nitrate and pH covers what a new tank actually needs. Here’s why testing comes before fish, and which format earns the shelf space.
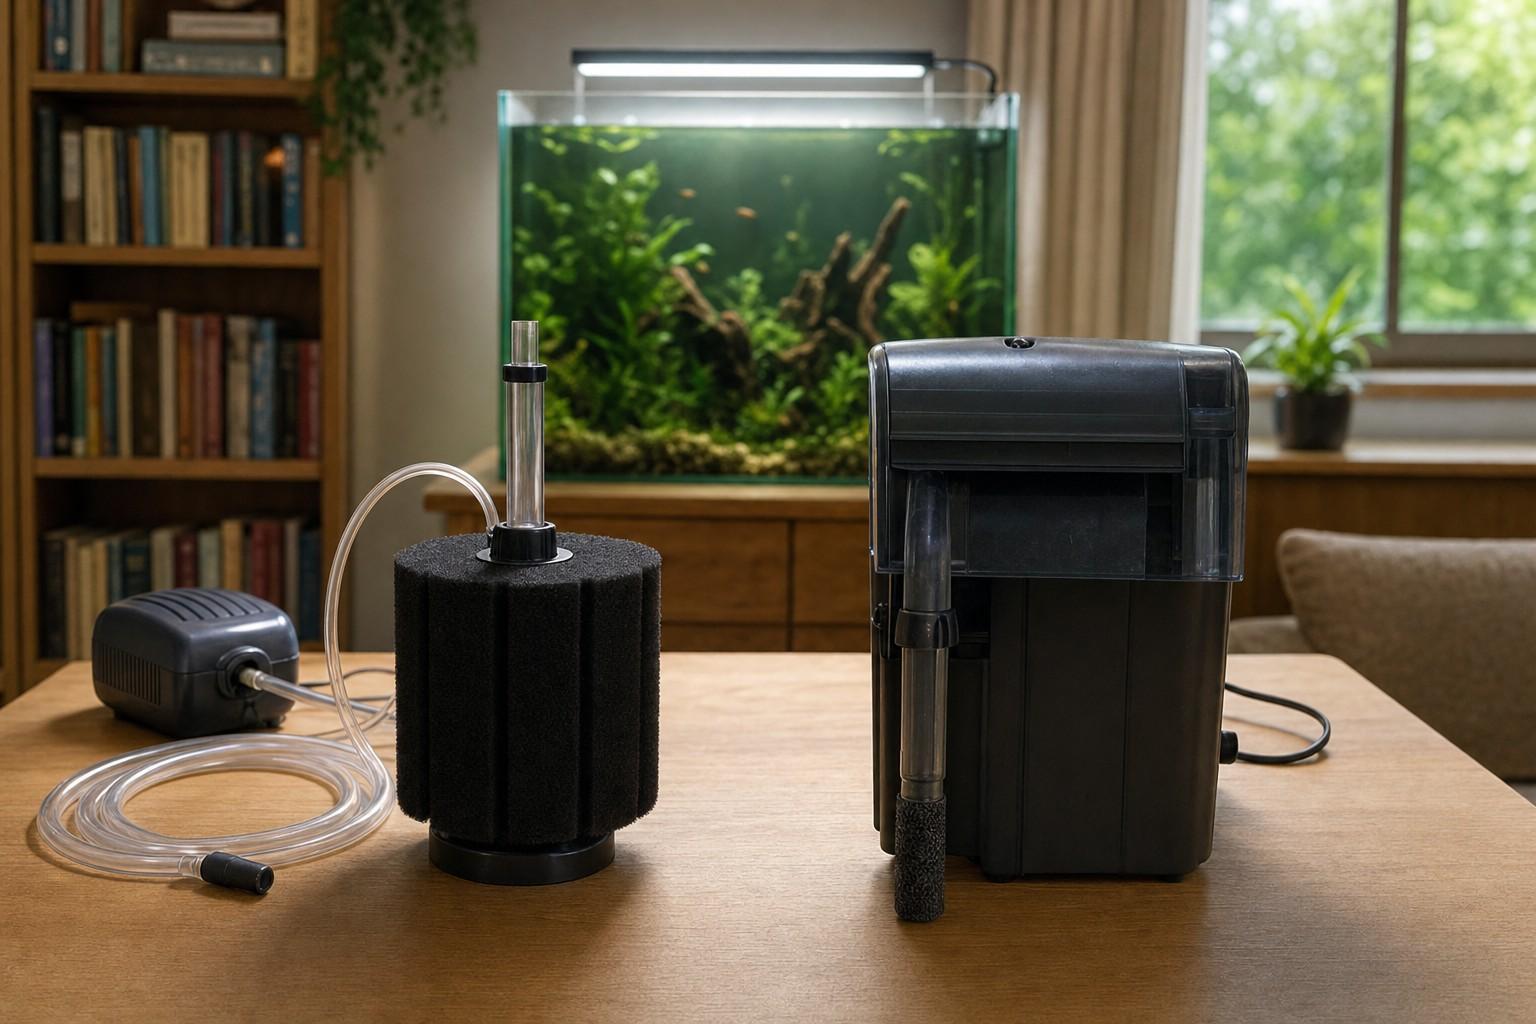
Both filters keep a beginner tank healthy, but they suit different fish, noise tolerances, and budgets. Here’s the honest way to pick between them.
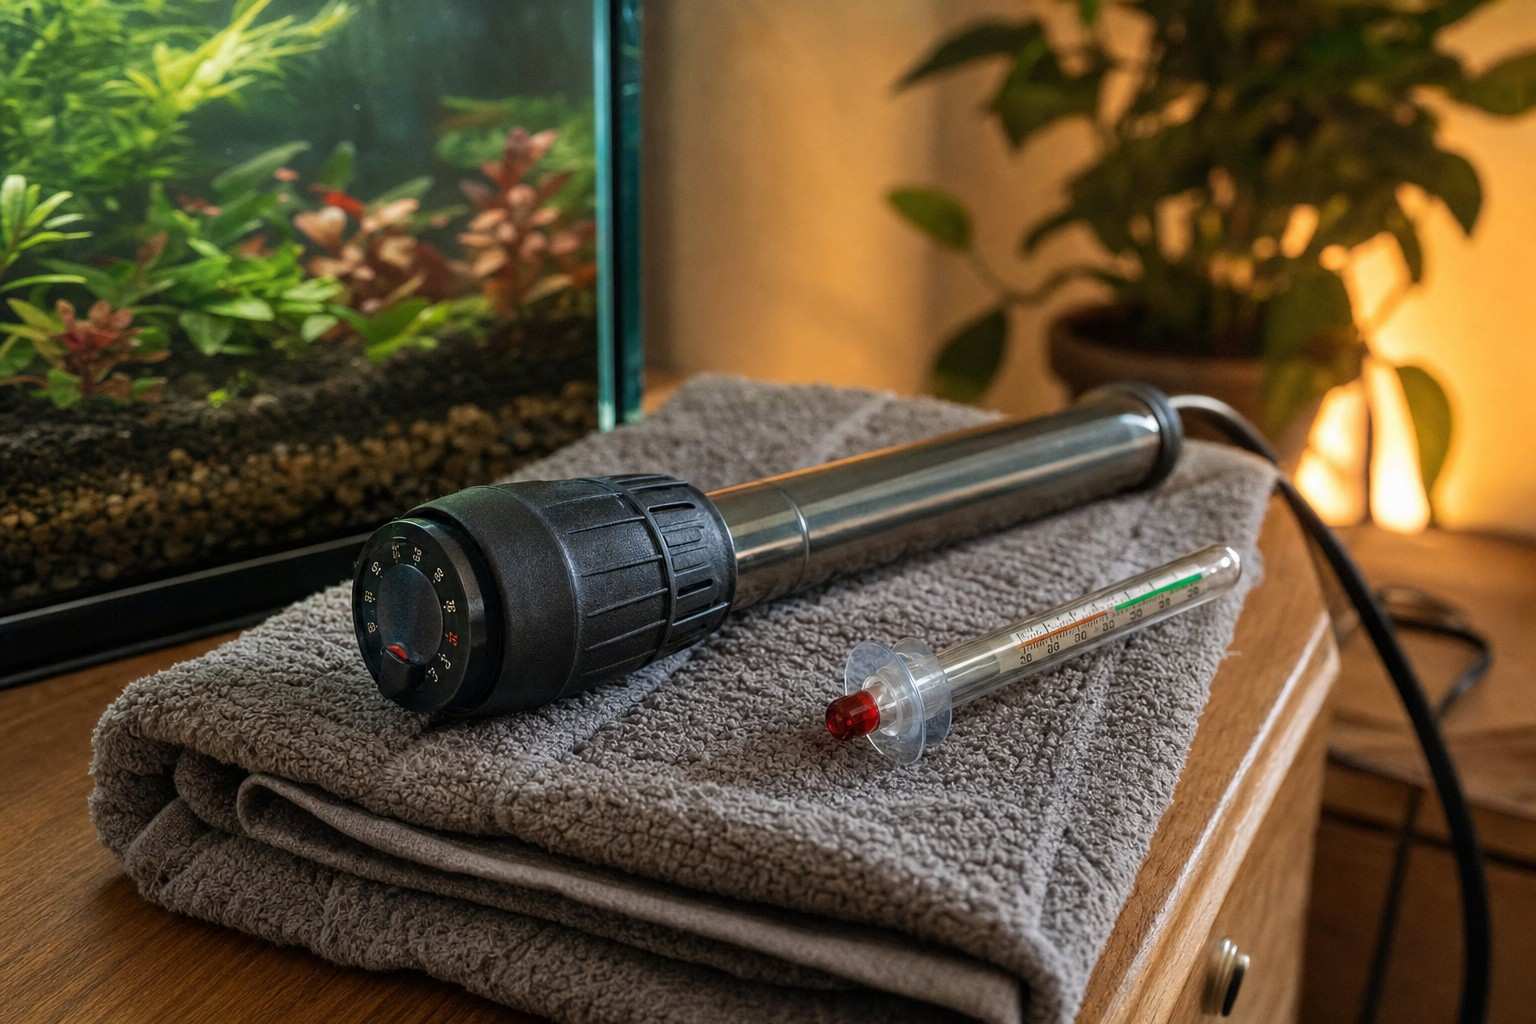
A 10-gallon tank usually needs a 50-watt adjustable heater. Here’s what the wattage rule really means, which features matter, and when you can skip the heater entirely.
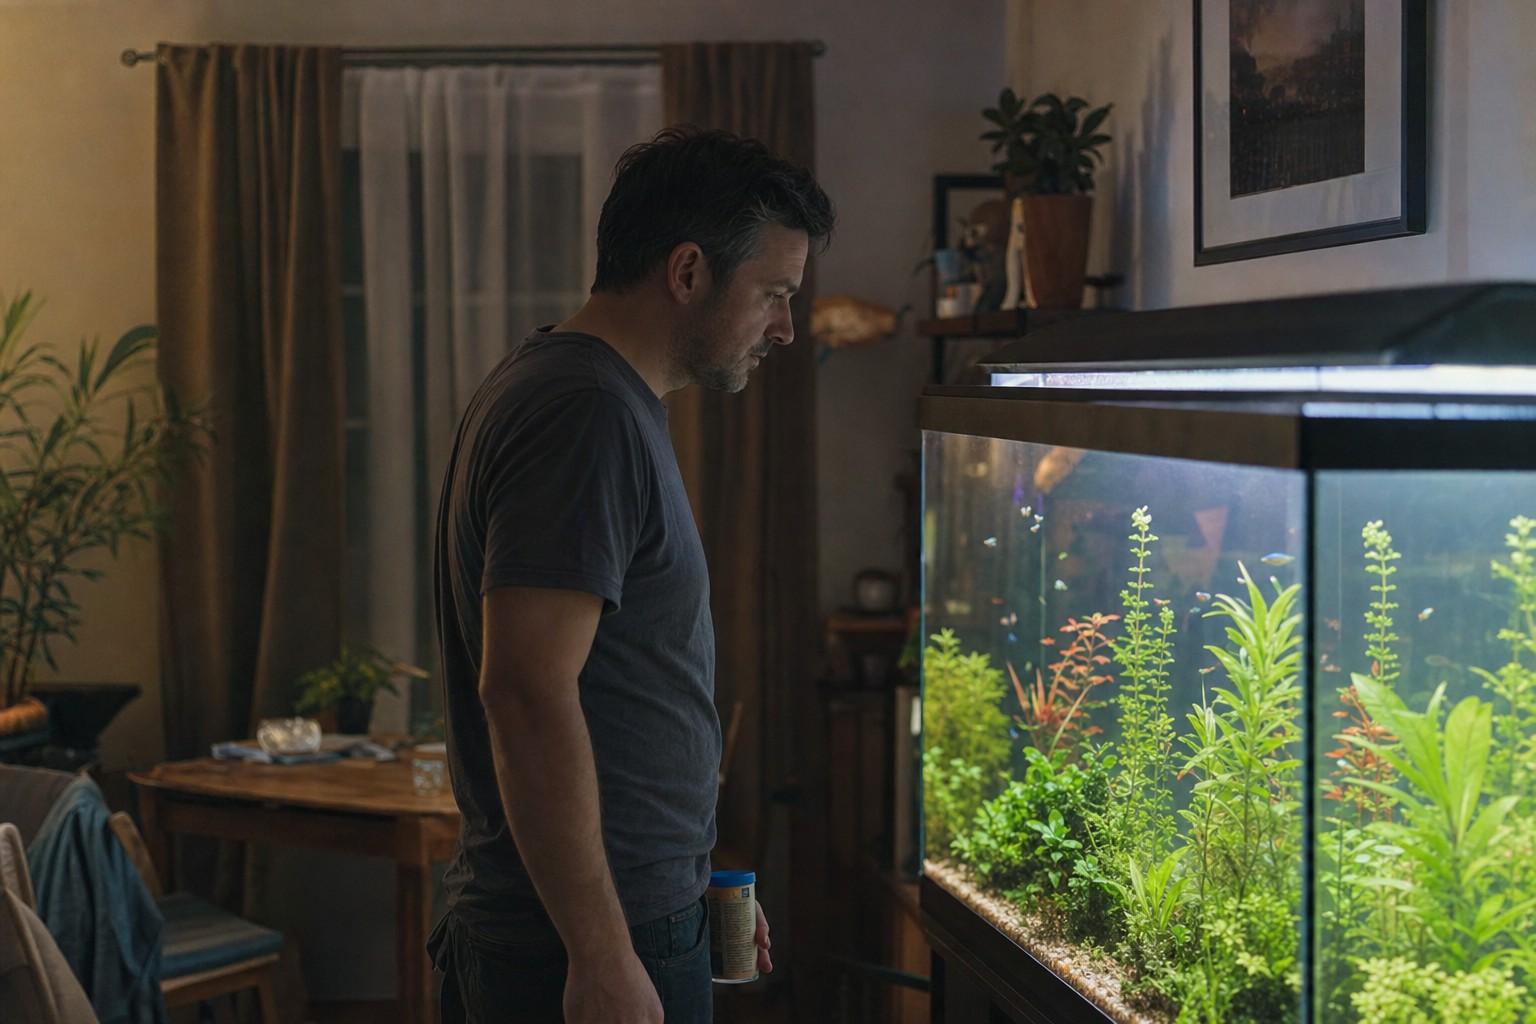
The daily feeding glance is often the first moment something seems off with a fish. Here is what to watch for, why you should check the water before anything else, and when to get expert help.

Whether a first tank needs a heater comes down to two things: the fish you want to keep, and how warm your house stays overnight. This guide walks through both.
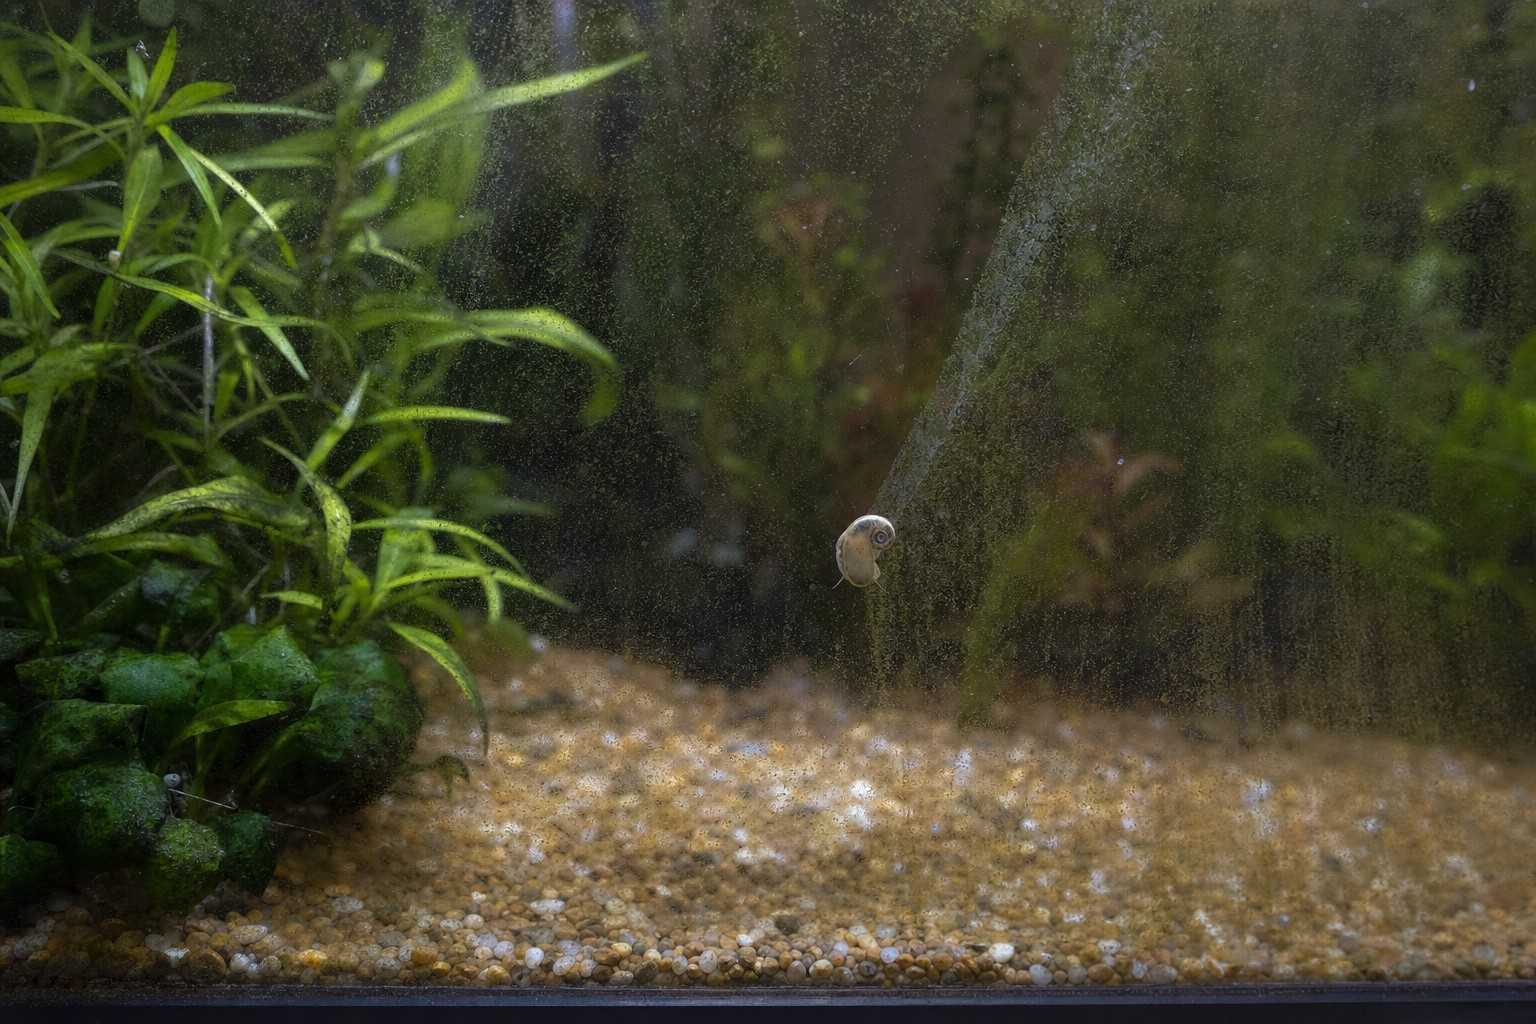
Small snails appearing in your tank are almost never a sign of a dirty or failing aquarium. Whether they stay useful or multiply out of control comes down to one thing: how much you feed.
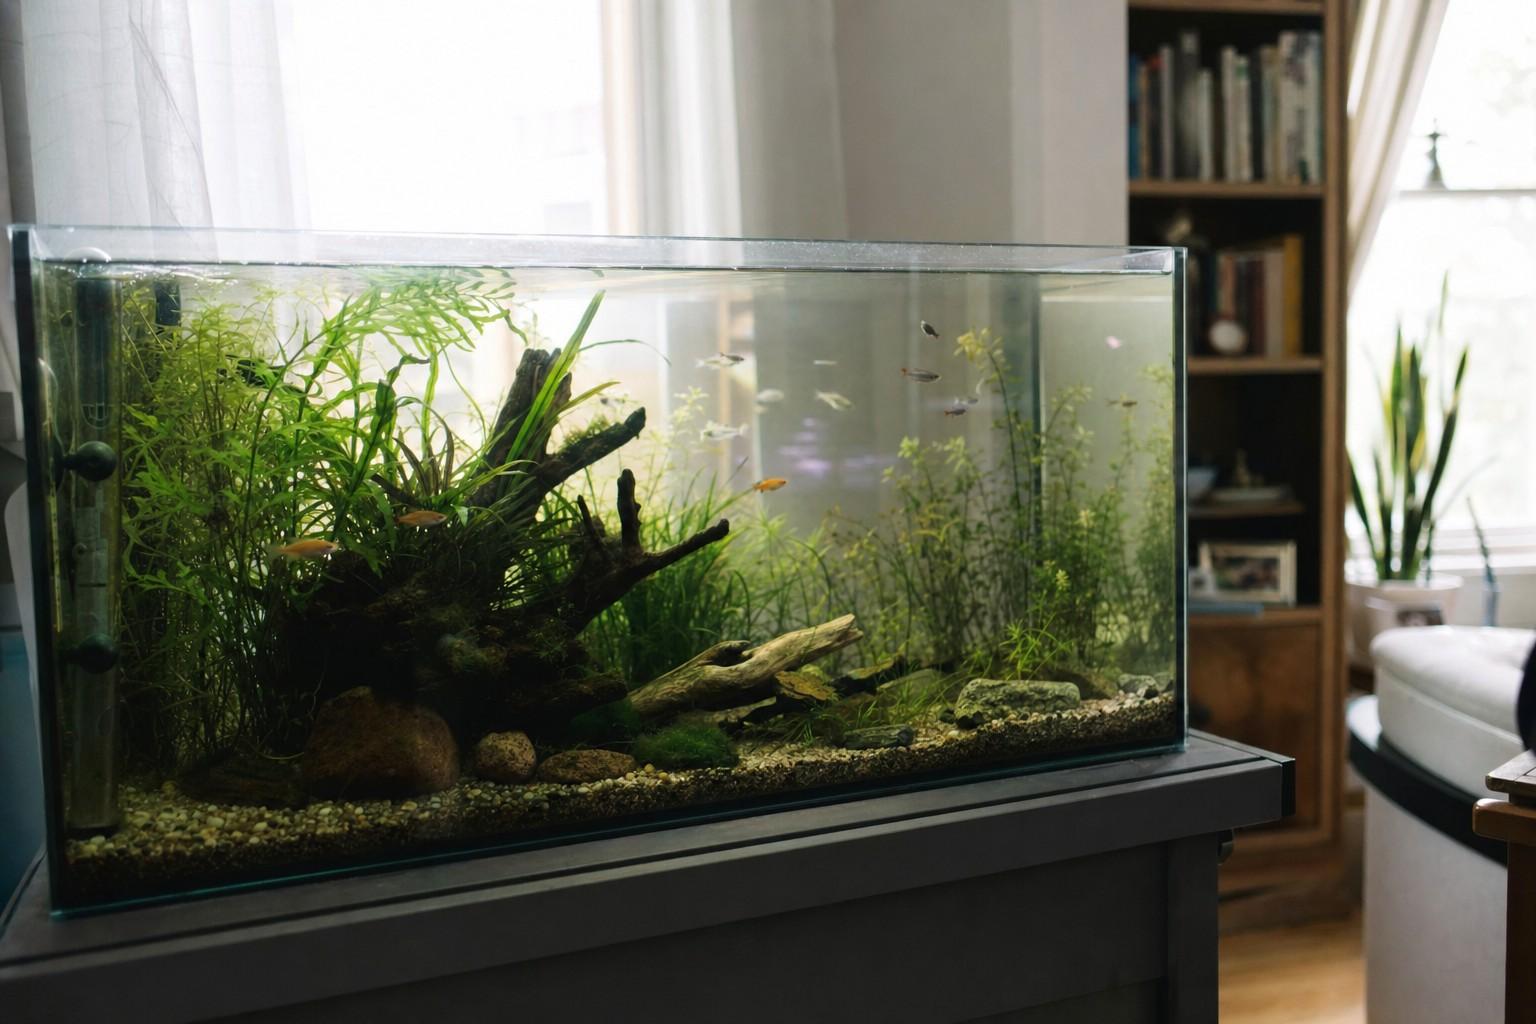
A calm community tank comes from planning combinations, not collecting individuals. Here’s how to think about temperament, swimming zones, and group sizes before you buy a single fish.
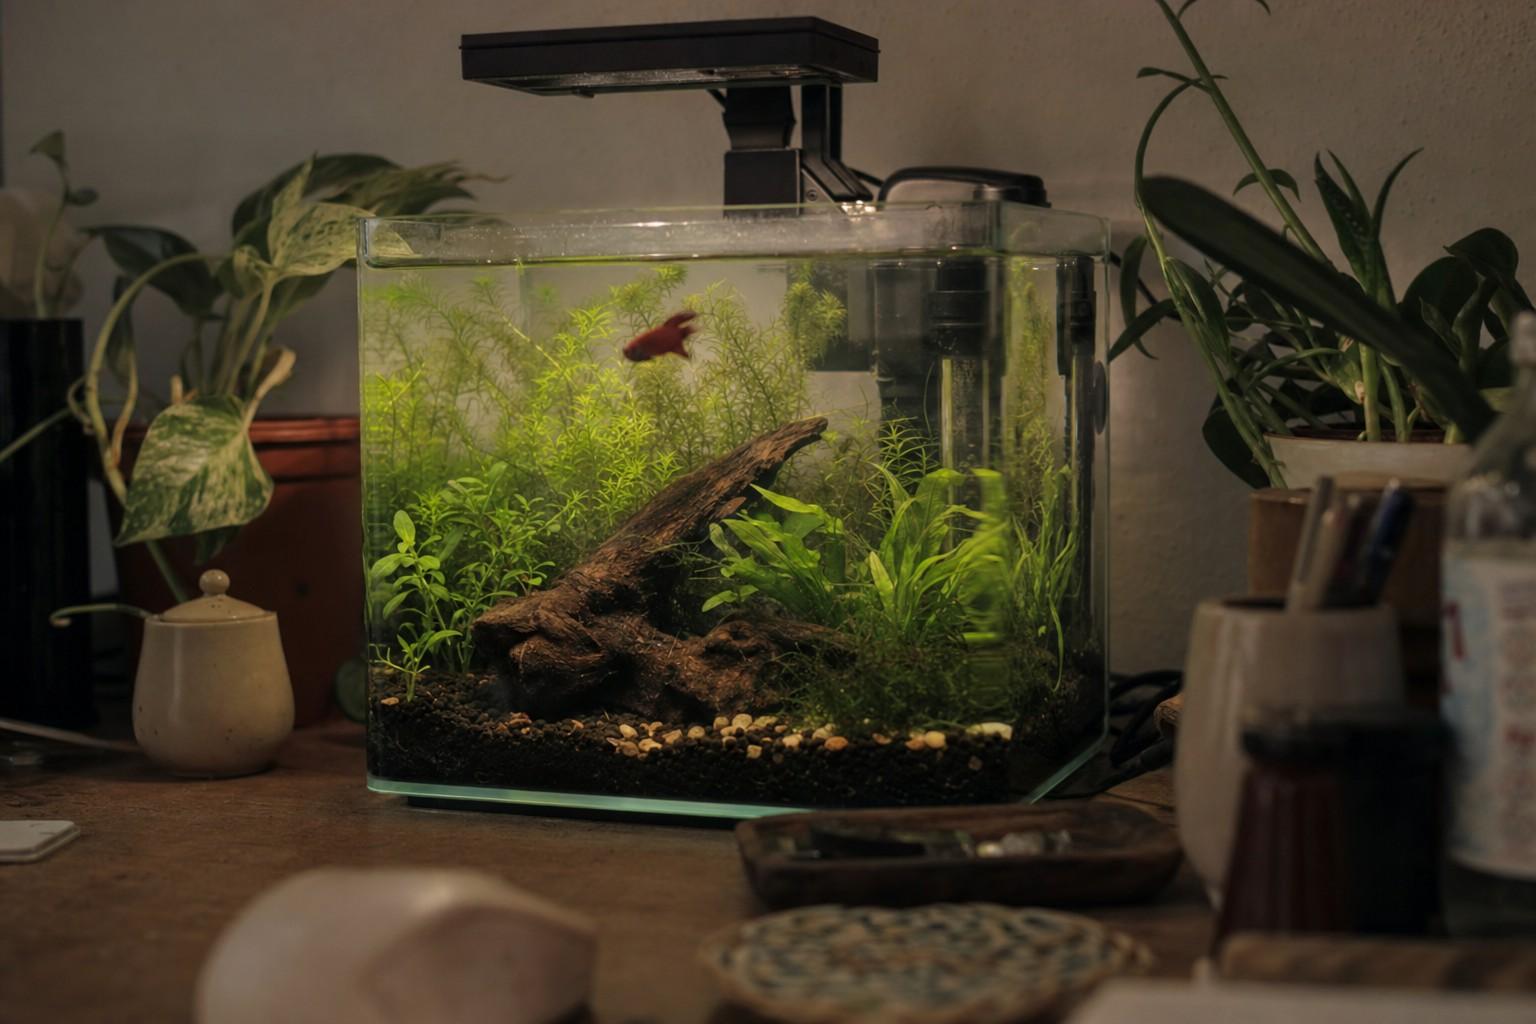
Bettas are sold in cups, but they’re tropical fish that need heated, filtered, cycled water. Here’s what a proper betta setup actually looks like and why it’s simpler than the cup suggests.
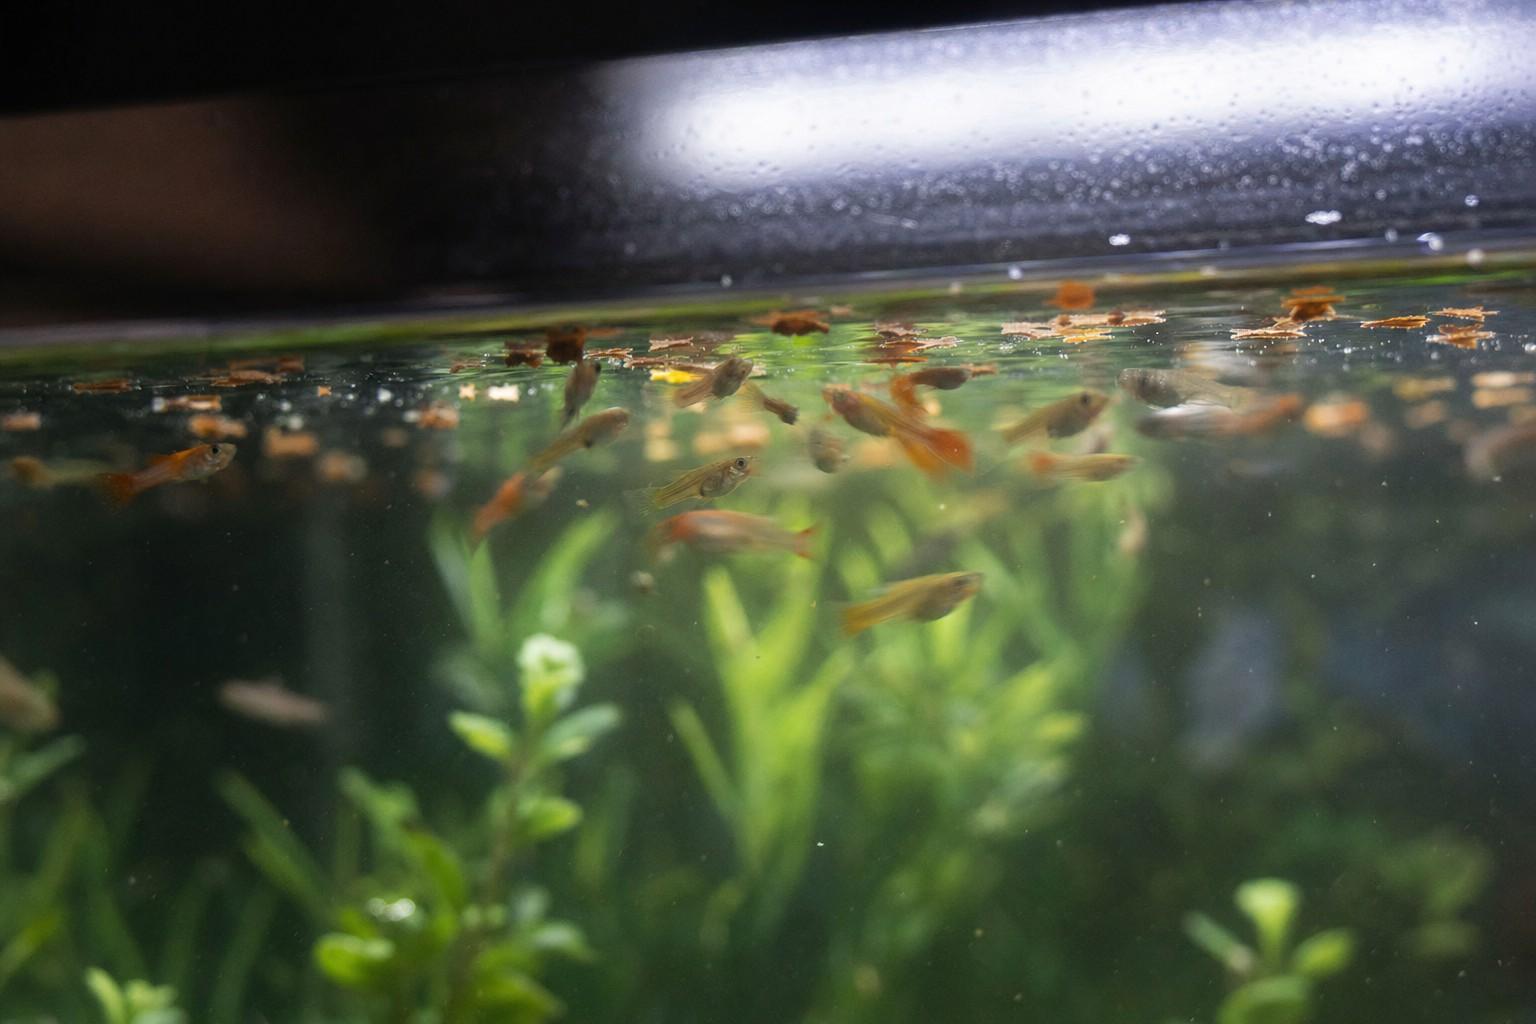
The most common way beginners harm a healthy tank is overfeeding. A simple once-a-day habit, strict two-minute rule, and one fasting day a week is all most aquariums ever need.
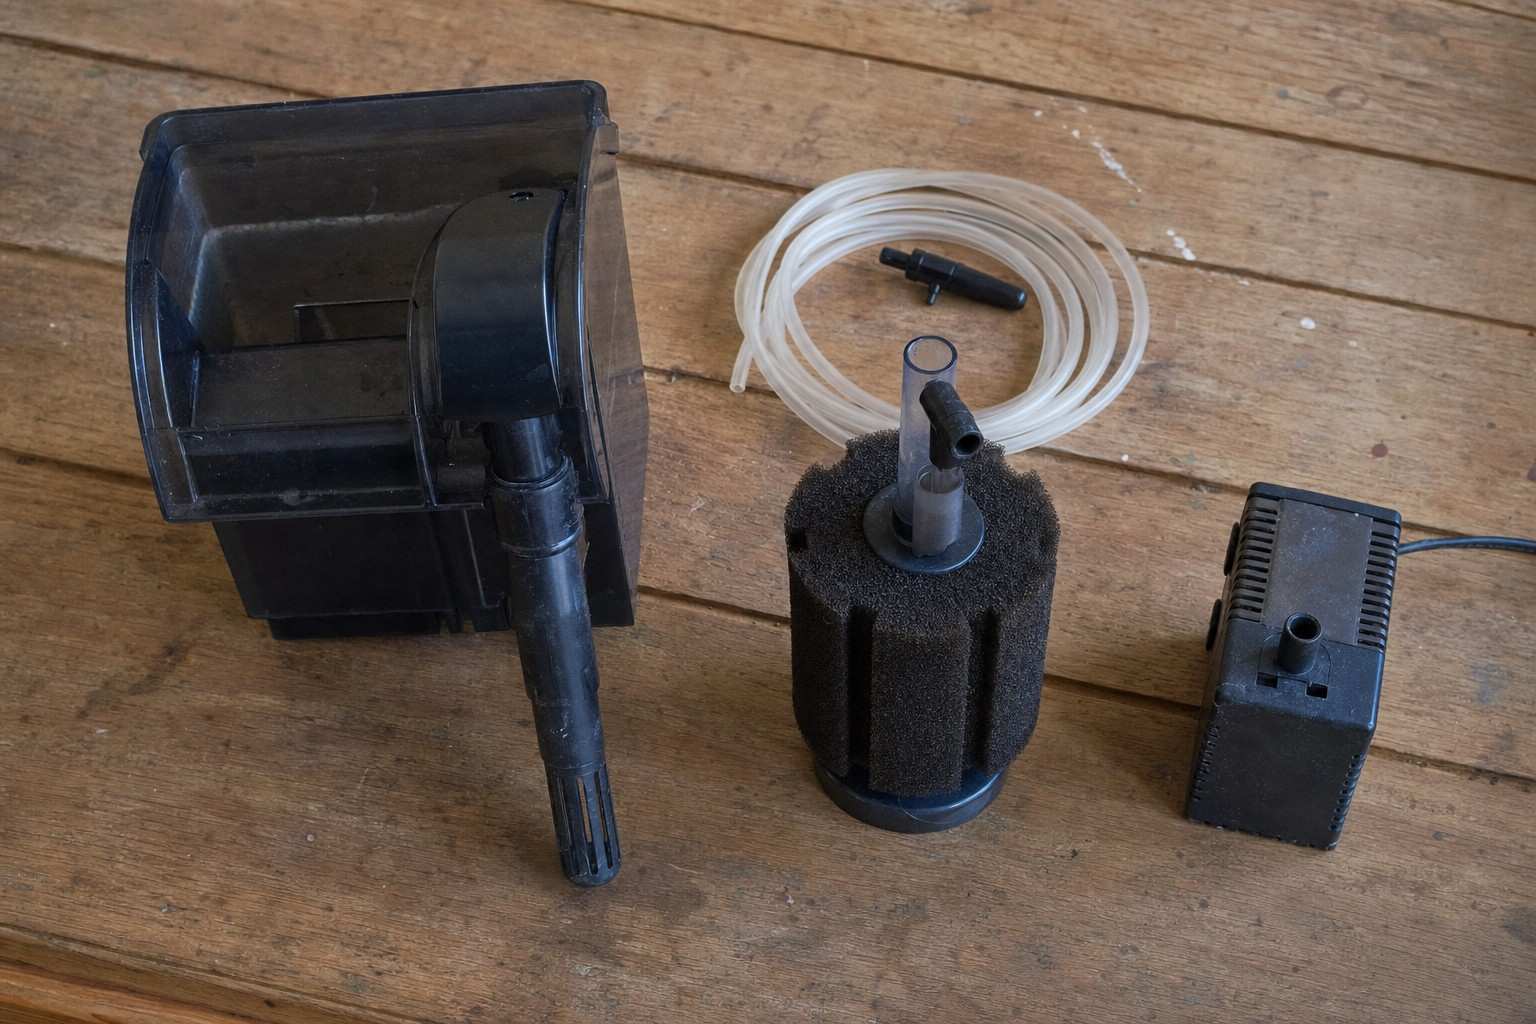
A plain guide to the four main aquarium filter types, what they actually do inside the tank, and which one makes sense for a first community setup.